Photoshop is a powerful image editing tool to enhance the quality of your images. However, there are a plethora of tools in the software that can be quite overwhelming for beginners. In this blog, we will talk about essential concepts like converting layers into Smart Objects, applying Smart Filters, and using various blur and sharpening effects.
Understanding Smart Objects and Filters can take your skills to the next level. Whether you are a beginner or an advanced user, these features provide a flexible and non-destructive workflow, allowing you to refine and enhance images without permanently altering the original layers.
Smart Objects allow for easier manipulation, and scalability, while Filters help in applying artistic and corrective effects with ease. By mastering these tools, you can unlock the full potential of Photoshop and create professional-quality edits with greater precision and control.
Let’s dive in and understand Smart Objects and Filters deeply.
Understanding Smart Objects
A Smart Object is essentially a layer with raster or vector data. While Raster images consist of a grid of pixels, Vector images are computer-generated comprising mathematical equations instead of pixels.
This makes the layer compatible with Photoshop and Illustrator files and facilitates non-destructive edits on the images. Smart Objects are useful because you can edit the layer but the source content remains safe along with its characteristics.
Also Read: Photoshop Basics: Easy Photo Editing Tips for Beginners
Converting Layers into Smart Objects
Smart Objects allow you to apply non-destructive edits to your images, preserving the original quality and enabling flexible adjustments. But how do you create it? Here is how:
Step 1: Select the layer you want to convert
Step 2: Right-click on the layer in the Layers panel
Step 3: Choose Convert to Smart Object
Step 4: The layer icon will change, indicating it is now a Smart Object
Benefits of Smart Objects
Here are some benefits of using smart objects in Photoshop for image editing.
Non-destructive Editing
Smart Objects allow you to apply transformation, filters, and adjustments without permanently altering the original image. This means you can always revert back to the original state.
Scalability Without Quality Loss
Unlike rasterized layers, scaling up and down a Smart Object does not degrade image quality, as the original data is preserved. Similar to Vector images, Smart Objects can be scaled indefinitely without any quality loss.
Editable Smart Filters
Filters applied to Smart Objects remain adjustable, allowing you to modify or remove them anytime without permanently affecting the image. Smart Objects are a great way to test out new filters and effects before applying them.
Flexible Layer Management
You can work with complex composition by nesting Smart Objects within other Smart Objects, making it easier to organize and edit elements separately.
Easier Reusability
Smart Objects enable you to use the same element across multiple projects or different parts of the design. If you edit the source Smart Object, all instances update automatically.
Also Read: Basics of Photoshop: Selection Tools and Layers
Master Smart Objects: Advanced Techniques
Nested Smart Objects: You can place Smart Objects within other Smart Objects, allowing you to create complex compositions while keeping edits organized and flexible.
Smart Object Linked Files: Instead of embedding images, you can link external files as Smart Objects, enabling real-time updates when the original file is modified.
Using Smart Objects for Mockups: Design realistic product mockups by placing images inside Smart Objects layers and adjusting perspective blend modes.
Understanding Smart Filters and Effects
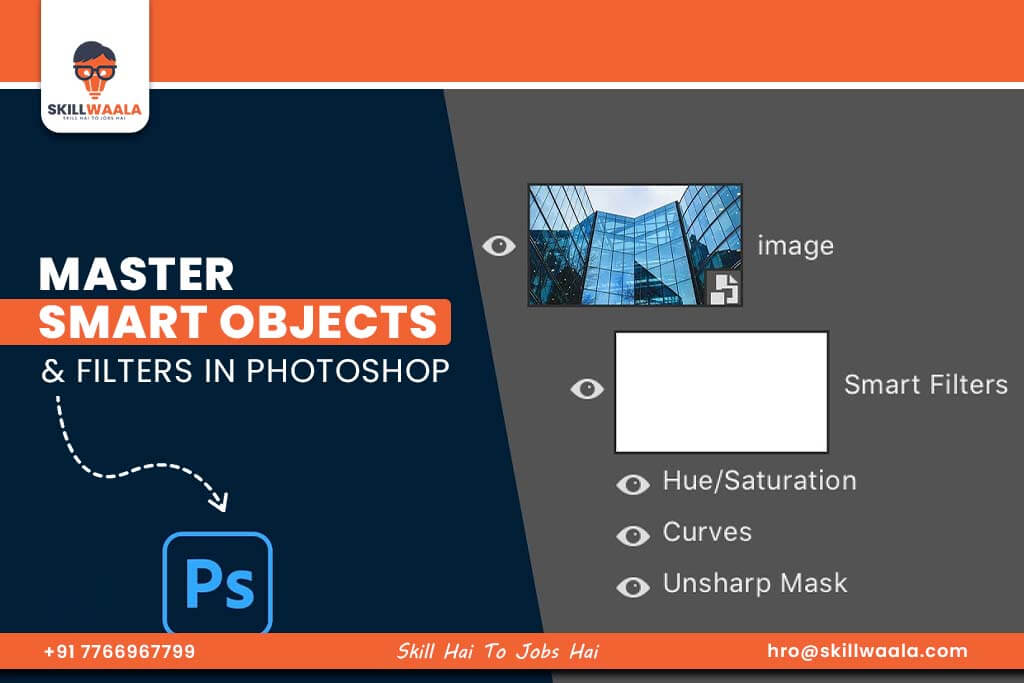
Smart Filters are applied to Smart Objects and can be adjusted or removed at any time without permanently altering the image.
How to Apply Smart Filters?
Step 1: Convert your layer to a Smart Object
Step 2: Go to Filter in the Menu Bar
Step 3: Select any filter you want to apply (e.g. Blur, Sharpen, Noise Reduction).
Step 4: Adjust the settings and click OK
Step 5: The filters appear as a separate layer under the Smart Object, which you can edit anytime.
Here is how you can manage smart filters effectively in Photoshop:
- Double-click the filter name to modify the settings
- Click the eye icon to toggle visibility
- Use the mask attracted to the Smart Filter layer to apply effects selectively.

Advanced Techniques for Smart Filters
Stacking Multiple Filters: you can apply multiple filters to a Smart Object and edit each one separately, allowing for greater control and creativity.
Using Filter Masks: Instead of applying a filter to the entire image, use filter masks to limit effects to specific areas.
Combining Filters for Special Effects: Experiment with multiple filters, such as Motion Blur and Noise Reduction to create cinematic effects.
Also Read: Introduction to Photoshop: Basics and Navigation
Blur Effects: Gaussian, Motion, and Lens Blur
Blur effects are essential for softening images, creating motion effects, and simulating realistic depth of field. Moreover, there are various types of blur, each with its own use. Let’s understand them in detail.
Gaussian Blur
- It is primarily used to smooth out noise and reduce detail in an image.
- Go to Filter > Blur > Gaussian Blur. Adjust the radius and click OK
- It is used to create a soft-focus effect or reduce minor imperfections.
Motion Blur
- It is used to simulate movement in an image.
- Go to Filter > Blur > Motion Blur. Adjust the angle and distance and click OK.
- It can be used to add speed effects to objects or people.
Lens Blur
- Lens Blur mimics the depth-of-field effect seen in professional photography.
- Go to Filter > Blur > Lens Blur. Adjust settings like radius, shape, and depth map.
- You can create a realistic bokeh effect using Lens Blur
Advanced Techniques for Blur Effects
Depth Maps with Lens Blur: Create custom depth-of-field effects by using grayscale depth maps in the Lens Blur filter
Directional Blur with Motion Blur: Use motion blur in combination with layers of masks to add realistic movements to objects.
Blurring Background for Depths: Use blur effects selectively with layers masks to create artificial depth in images.
Also Read: Best Graphic Designing Courses in Jaipur

Sharpening & Noise Reduction in Photoshop
Sharpening enhances the details in an image, while noise reduction helps in improving image clarity by reducing graininess. Sharpening enhances the clarity and focus of an image by increasing the contrast around the edges, making details appear crisper and more defined.
Smart Sharpen for Sharpening
With Smart Sharpen, you can increase contrast around edges to make details pop.
Go to Filter > Sharpen > Smart Sharpen. Adjust the amount and radius.
Noise Reduction
The purpose of noise reduction is to remove unwanted grain and smoothen images. It smooths out grainy areas while preserving quality. The noise reduction tool analyzes the pixel data, averages the color values of similar pixels, and reduces luminous noise and color noise.
Go to Filter > Noise > Reduce Noise. Adjust strength and details.
It is primarily used for improving image quality for low-light photos or scanned images.
Advanced Techniques for Sharpening & Noise
High-Pass Sharpening: A technique that sharpens details without increasing noise by applying a High Pass filter and changing the blending mode to Overlay.
Selective Sharpening with Layers Masks: Apply sharpening only to specific parts of an image, such as eyes or textures, while keeping the rest smooth.
Combining Noise Reduction with Sharpening: Apply noise reduction before sharpening to strike the perfect balance between details and smoothness.
Some Tips and Tricks
To become proficient in using Smart Objects and Filters, practice is key. Here are some tips to help you master these tools:
- Experiment with different filter combinations to understand how they interact
- Use Smart Objects in all your projects to maintain flexibility in your edits
- Apply layers masks to control where the effects appear in an image.
- Leverage adjustment layers to fine-tune colors and contrast after applying filters
- Study real-world photography to understand how blurs and sharpening work naturally.
Final Words
Mastering Smart Objects and Filters in Photoshop allows for a non-destructive workflow and greater creative flexibility. By using Smart Filters, Blur Effects, and Sharpening techniques, you can enhance your images with precision while retaining full control over edits. Experiment with these tools and utilize the tips to refine your Photoshop skills and create stunning visuals.
If you are interested in graphic designing or animation, you can join Skillwaala’s free VFX & animation course online and learn these skills straight from industry professionals actively working in the field.


