Adobe Photoshop is the industry-standard software for photo editing, graphic design, and digital art. Whether you are a beginner looking to learn the basics or a professional wanting to enhance your skills, understanding Photoshop’s interface and essential tools is important.
This blog is designed to help you understand Photoshop’s capabilities, making it easier to create stunning designs and edit images like a pro. We will walk you through the fundamentals of Photoshop, including workspace, navigation, essential tools, and setup processes.
What is Graphic Designing?
Graphic designing is the art of creating visual content using typography, images, colors, and layouts to communicate ideas effectively. It is widely used in various industries like marketing, branding, web design, social media, and print media to create engaging visuals.
Moreover, there are multiple types of digital images like Raster and Vector that each serve different purposes. While Raster is primarily created using Photoshop, Vector is created using Illustrator.
Let’s understand the difference between Raster vs Vector.
Raster vs Vector: Types of Digital Images
- Raster Graphics: Made up of pixels, these images lose quality when scaled up. Common file formats include JPEG, PNG, and PSD. Offers limited scaling and is primarily used for web-based purposes.
- Vector Graphics: Composed of paths and mathematical equations, allowing for infinite scalability without loss of quality. Formats include SVG, AI, and EPS. Can be scaled according to your requirements. It is primarily used for print media like billboards and other large hoardings.
But how can we create these images? There are dedicated tools like Adobe Photoshop and Adobe Illustrator for creating Raster and Vector images.
- Adobe Photoshop: Best for photo editing, digital painting, and raster-based design. While it can work with Vector images, it lacks in comparison to Illustrator.
- Adobe Illustrator: Ideal for creating logos, icons, and vector-based illustrations. It is unsurpassed in creating vector-based images.
Now, both of these graphic designing software follow different color schemes. Let’s understand them.
- RGB (Red, Green, Blue): Used for digital screens, provides vibrant colors.
- CMYK (Cyan, Magenta, Yellow, Black): Used for printing, ensures accurate color reproduction in print media.
Also Read – Best 2D Animation Software for Beginners
Photoshop Setup Process: Installation and Work Setup
We have highlighted the step-by-step guide to set up Photoshop to help you get started.
Step-by-Step Guide to Setting Up Photoshop
First and foremost, make sure you have genuine Photoshop software. It can be downloaded by visiting Adobe’s official site and following the instructions on the screen. After you have acquired the software, you can get started with the setup.
Setting up Your Workspace:
Open Photoshop: Launch the application after installation
Choose a Workspace Layout: Go to Window > Workspace and select a preset like Essentials, Photography, or Graphic & Web.
Customize Toolbar: Use Edit > Toolbar to add or remove tools as per your preference.
Adjust Panels: Dock frequently used panels like Layers, Colors, and Adjustments by dragging them to the desired location.
Set Preferences: Navigate to Edit > Preferences to adjust general settings, performance, and file handling options.
Save Your Workspace: Once customized, save it via Window > Workspace > New Workspace to retain the settings for future use.
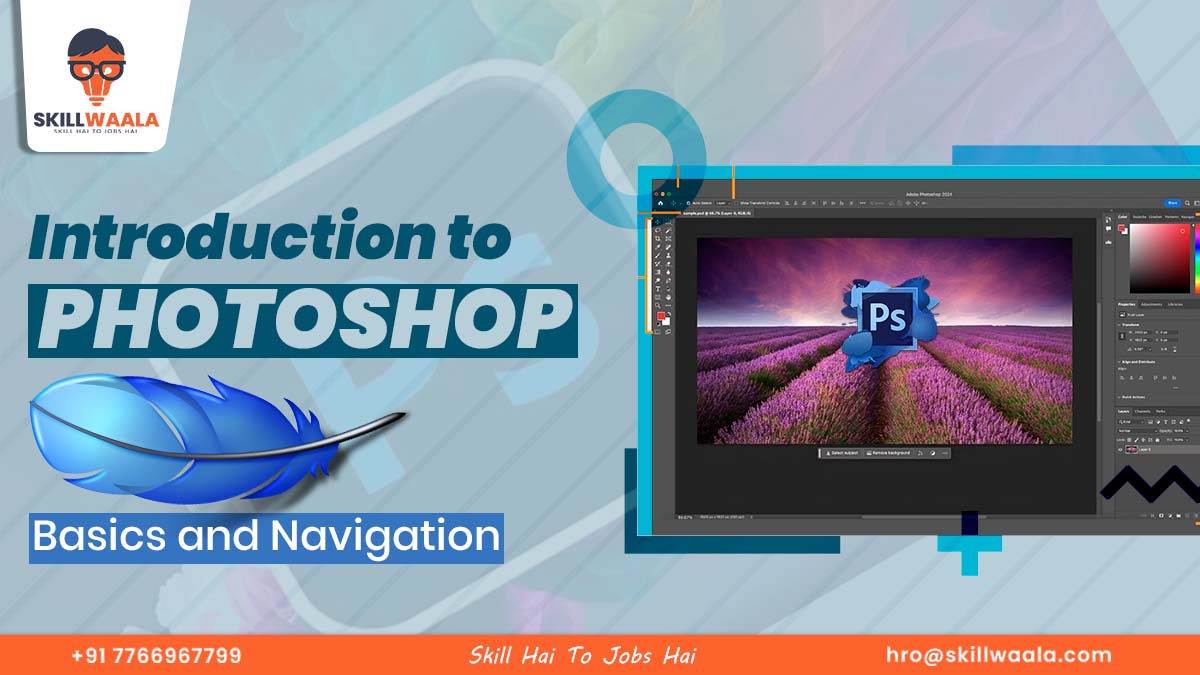
Understanding Photoshop Interface
Now that we have set up our Photoshop software, let’s understand the basic interface.
- Menu Bar: Provides access to different commands and settings.
- Toolbar: Houses essential tools like selection, brush, and text.
- Document Window: Displays the currently open project.
- Options Bar: Shows settings related to the selected tool.
- Panels: Includes Layers, Color, Adjustments, and other controls to manage workflow efficiently.
Key Workspace Elements Explained
Menu Bar: Located at the top, the menu bar contains different dropdown menus like File, Edit, Image, Layer, Type, Select, Filter, 3D, View, Window, and Help. These menus provide access to various Photoshop features and settings.
Toolbox (Toolbar): The vertical toolbar at the left side of the screen. It contains essential tools like selection, painting, cropping, and text tools. Users can customize the toolbar as per the requirements.
Document Window: This is where the open image or project is displayed. Multiple document windows can be opened simultaneously, allowing users to work on different projects at once.
Options Bar: It is located below the menu bar. The options bar displays settings related to the currently selected tool. For example, when using the Brush Tool, users can adjust the size, opacity, and flow from this bar.
Panels: Various panels like Layers, Color, Adjustments, and History help users manage and edit their work efficiently. These panels can be moved, resized, or grouped according to the user’s workflow preference.
New Document: Choose dimensions, resolution (72 DPI for web, 300 DPI for print), and color mode (RGB for digital, CMYK for print).
Read more – Free Online Photoshop Course – Learn Photoshop (Beginner to Advanced)
Types of Tools in Photoshop
Now that we know about the various workspace elements in Photoshop, let’s learn about the types of tools available in the software.
Basic Tools
Move Tool: Used to move layers and objects.
Zoom Tool: Allows zooming in and out for precision.
Hand Tool: Helps navigate around the canvas without zooming.
Rulers, Grids, and Guides
Rulers: Help measure and align elements accurately (Ctrl + R).
Grids: Assist in aligning objects symmetrically (View > Show > Grid).
Guides: Custom lines that help in layout alignment (drag from Ruler).
Undo & History Panel
Undo: Press Ctrl + Z to undo the last action.
History Panel: Keeps track of all actions and allows reverting to earlier steps.
Types of Image Extensions
There are various types of image extensions in Photoshop. When saving the project, you can choose the image extension you want.
- JPEG (.jpg): Compressed format, widely used for web images.
- PNG (.png): Supports transparency, great for web graphics.
- PSD (.psd): Native Photoshop format, allows editing of layers.
- TIFF (.tiff): High-quality format, commonly used for printing.
- PDF (.pdf): Useful for sharing design files in a universal format.
Useful Adobe Photoshop Shortcut Keys
Here’s a list of Adobe Photoshop shortcut keys categorized for easy reference:
General Shortcuts
- Ctrl + N → New File
- Ctrl + O → Open File
- Ctrl + S → Save
- Ctrl + Shift + S → Save As
- Ctrl + Alt + S → Save a Copy
- Ctrl + P → Print
- Ctrl + Z → Undo/Redo (toggle)
- Ctrl + Shift + Z → Step Forward (Redo multiple times)
- Ctrl + Alt + Z → Step Backward (Undo multiple times)
- Ctrl + X → Cut
- Ctrl + C → Copy
- Ctrl + V → Paste
- Ctrl + Shift + V → Paste in Place
- Ctrl + A → Select All
- Ctrl + D → Deselect
- Ctrl + Shift + D → Reselect
- Ctrl + F → Repeat the Last Filter
Layer Shortcuts
- Ctrl + Shift + N → New Layer
- Ctrl + J → Duplicate Layer
- Ctrl + Shift + J → Cut to New Layer
- Ctrl + Alt + Shift + N → Create New Layer Without Dialog
- Ctrl + E → Merge Selected Layers
- Ctrl + Shift + E → Merge All Visible Layers
- Ctrl + Alt + Shift + E → Stamp Visible (Creates a new merged layer)
- Ctrl + G → Group Layers
- Ctrl + Shift + G → Ungroup Layers
- Ctrl + Alt + G → Create Clipping Mask
Selection & Transformation
- Ctrl + T → Free Transform
- Ctrl + Shift + T → Repeat Last Transformation
- Ctrl + Alt + Shift + T → Repeat Transformation with Copy
- Shift + Click → Add to Selection
- Alt + Click → Subtract from Selection
- Ctrl + Click (on Layer Thumbnail) → Load Selection
- Ctrl + Shift + I → Invert Selection
- M → Rectangular or Elliptical Marquee
- L → Lasso Tool
- W → Magic Wand Tool
Brush & Painting
- B → Brush Tool
- Alt + Click → Eyedropper (Pick Color)
- Shift + B → Toggle Brush & Pencil Tools
- [ or ] → Decrease/Increase Brush Size
- Shift + [ or ] → Decrease/Increase Brush Hardness
- D → Default Foreground & Background Colors
- X → Swap Foreground & Background Colors
- Ctrl + Alt + Shift + K → Open Keyboard Shortcuts
Text & Type Tool
- T → Type Tool
- Ctrl + T → Resize Text (Free Transform)
- Ctrl + Shift + > or < → Increase/Decrease Font Size
- Ctrl + Shift + L, R, C, J → Align Left, Right, Center, Justify
- Alt + Left/Right Arrow (when in text editing mode) → Adjust Letter Spacing
- Alt + Up/Down Arrow → Adjust Line Spacing
Viewing & Navigation
- Ctrl + + / – → Zoom In/Out
- Ctrl + 0 → Fit to Screen
- Ctrl + 1 → 100% Zoom
- Spacebar + Drag → Pan View
- Tab → Show/Hide Panels
- F → Toggle Screen Modes
Miscellaneous
- Ctrl + Alt + Shift + K → Customize Keyboard Shortcuts
- Ctrl + Shift + Alt + E → Create Merged Layer Copy
- Ctrl + R → Show/Hide Rulers
- Ctrl + ; → Show/Hide Guides
- Ctrl + ‘ (Apostrophe) → Show/Hide Grid
- Ctrl + Shift + ; → Lock/Unlock Guides
Final Words
Adobe Photoshop is an incredibly powerful tool for graphic designers, photographers, and digital artists. By understanding the interface and workspace elements, beginners can quickly become comfortable with Photoshop and start creating stunning visuals. With a basic understanding of tools, panels, and file formats, users can streamline their workflow and create professional-quality designs. Whether you are editing photos, designing social media graphics, or working on digital art, mastering Photoshop’s basics will open a world of creative possibilities, allowing you to put forth your most creative work.
Frequently Asked Questions (FAQs)
Ans. You can start learning Photoshop by getting familiar with the basics. However, the most important thing is regular practice and experimentation. As you practice, you will get accustomed to the tools and develop your own style.
Ans. If you are a total newbie, you can start with Adobe Photoshop. You can also try out Photoshop Elements if you want to make quick adjustments and enhancements.