In the world of digital photography, retouching and healing tools have become the secret weapons of photographers and editors alike. Whether you are a professional editor or just someone who wants to enhance their Instagram photos, mastering these tools can take your images from good to magnificent. From the Spot Healing Brush that works like a Digital eraser to the Clone Stamp Tool that copies perfection, there are a wide range of tools available at your fingertips.
In this blog, we will dive into the world of retouching and healing, exploring everything from the basics of the Spot Healing Brush to the power of Content-Aware Fill.
Let’s dive in.
What are Retouching and Healing Tools?
First and foremost, let’s understand what retouching and healing tools.
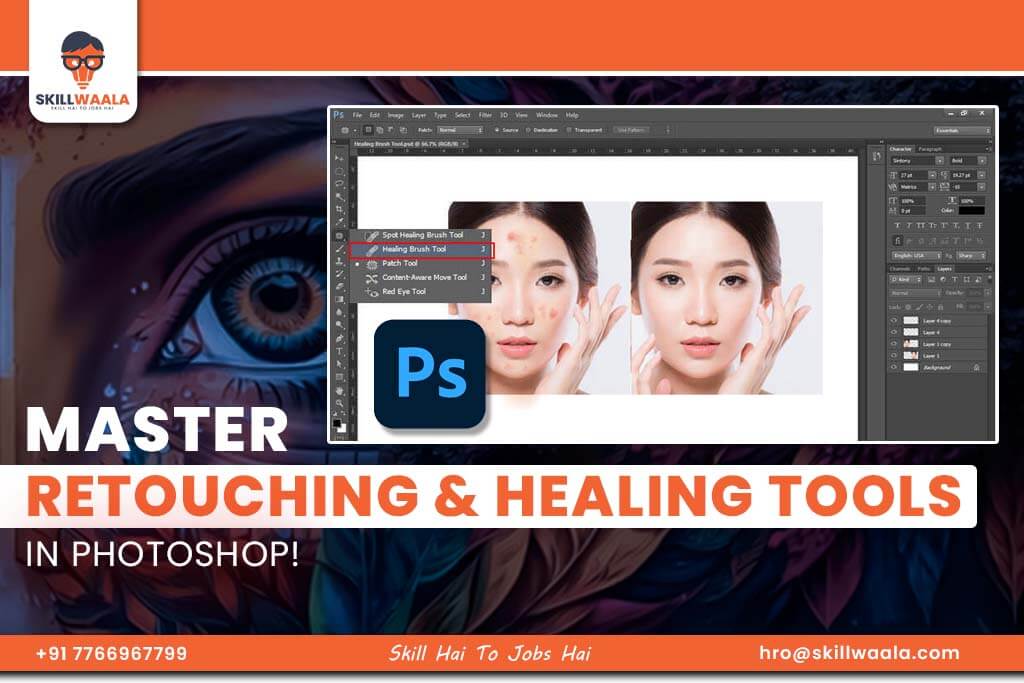
Spot Healing Brush
The Spot Healing Brush is a powerful tool for effortlessly removing small blemishes, dust spots, or minor imperfections in your images. It works by analyzing the surrounding pixels and intelligently filling in the selected area with matching content. Here is how to use it:
- Select the Spot Healing Brush tool
- Adjust the brush size to slightly larger than the imperfection
- Click or Drag over the area to be fixed
Patch Tool
When dealing with larger imperfections or areas that require more control, the Patch Tool comes in handy. This tool allows you to select a problem area and replace it with pixels from another part of the image. Here’s how to use it:
- Choose the Patch Tool
- Select the area to be fixed
- Drag the selection to a clean area of the image
- Released to blend seamlessly.
Clone Stamp Tool: Duplicate Image Elements
The Clone Stamp Tool offers the most control for retouching by allowing you to manually select a source area and pin it onto another part of the image. This is particularly useful for duplicating textures or removing complex objects.
Content-Aware Fill Tool
Content-Aware Fill takes the retouching to the next level by automatically analyzing the surrounding area and filling in selected regions with matching content. This tool is ideal for removing large objects or filling in empty spaces in your images.
Now that we have covered the basic retouching and healing tools, let’s understand how to use them for quick and effective edits.
Also Read: How to Use Smart Objects & Filters in Photoshop Like a Pro?
Mastering the Spot Healing Brush
The Spot Healing Brush is a useful tool for fixing minor blemishes and dust spots. But how can you maximize its potential? Let’s learn.
Selecting the Right Brush Size
When using the Spot Healing Brush, choosing the appropriate brush size is crucial for achieving natural-looking results. A general rule of thumb is to use a brush size slightly larger than the imperfection you are trying to correct. This allows the tool to sample enough surrounding areas to create a seamless blend.
Small Blemishes: 10-20 px
Medium Spots: 20-40 px
Larger Areas: 40-60 px
Adjusting Brush Hardness for Natural Results
The hardness of your brush affects how the corrected area blends with its surroundings. For most skin retouching tasks, a softer brush edge is preferred.
- 0-25% hardness for subtle blending
- 25%-50% hardness for moderate corrections
- 50%-75% for more defined edges
Techniques for Various Skin Imperfections
Different skin issues require specific approaches and techniques. Here is how to tackle them:
| Acne and Blemishes | Use short gentle clicksWork from outside in |
| Wrinkles | Make multiple small strokes along the lineBlend in different directions |
| Uneven Skin Tone | Use larger brush sizesApply in circular motions |
Remember to zoom in and out frequently to ensure your retouching looks natural at different scales. With practice, you will develop an intuitive feel for which techniques work best for different situations..
Also Read: Selection Tools and Layers in Photoshop
Mastering the Patch Tool for Seamless Editing
Now, let’s understand the patch tool and how to effectively use it to ensure proper edits.
Source and Destination Select Strategies
When using the Patch Tool for seamless edits, selecting the right source and destination areas is crucial. Here are some effective strategies:
- Match texture and lighting
- Consider surrounding elements
- Use multiple small patches for complex areas
- Avoid hard edges in the selection
For best results, always select areas with similar texture and lighting conditions. This ensures a more natural blend between the source and destination.
Blending Modes for Optimal Results
Experimenting with different blending modes can significantly enhance your patch tool edits. Some effective blending modes include:
- Normal: Default mode, suitable for most situations
- Darken: Useful for removing light spots or blemishes
- Lighten: Ideal for brightening dark areas
- Overlay: Enhances contrast while preserving underlying texture
Handling Complex Textures and Patterns
Complex textures and patterns require special attention when using the Patch Tool. Try these techniques:
- Use smaller, more precise selections
- Rotate the source selection to match the destination pattern
- Employ the Content-Aware option for intricate patterns
- Blend multiple patches for a more natural look
Remember to always work on a separate layer to preserve your original image. This non-destructive approach allows for easy adjustments and corrections as needed.
Also Read: Basics and Navigation of Adobe Photoshop
Editing with the Clone Stamp Tool
The clone stamp tool is a useful feature to clone image textures and properly blend them with the background. Here is how to use it:
Setting the Sample Point
The Clone Stamp Tool’s effectiveness relies heavily on choosing the right sample point. To set an effective sample point:
- Select an area with similar texture and lighting
- Use Alt/Option + click to set the sample point
- Adjust the brush size to match the area you are editing
- Consider using multiple sample points for complex edits
Matching Lighting and Texture
To achieve seamless edits, matching lighting and texture is crucial:
- Analyze the surrounding area’s lighting conditions
Adjust brush opacity and flow for gradual blending - Use soft-edged brushes for smoother transitions
- Sample from areas with similar lighting angles
Creating Realistic Duplications
The Clone Stamp Tool excels at creating realistic duplications. Use these techniques to maximize its efficiency:
- Use a low opacity (30%-50%) for building up layers
- Vary the sample point frequently to avoid repetitive patterns
- Rotate and scale the brush for natural-looking results
- Pay attention to shadows and highlights for authenticity
Combining with Other Tools for Enhanced Results
For optimal results, combine the Clone Stamp Tool with other editing tools:
- Use the Healing Brush for small imperfections
- Apply Content-Aware Fill for larger areas
- Incorporate adjustment layers for color and tone matching
By mastering these techniques, you will be able to perform precision edits that seamlessly blend with the original image. Next, we will explore the powerful Content-Aware Fill feature and how it can change your retouching workflow.
Also Read: Photoshop Basics: Easy Photo Editing Tips for Beginners
How to Use the Power of Content-Aware Fill?
The Content-Aware Fill tool fills selected areas of an image using content from other parts of the image. It can be used to remove unwanted objects or fill in missing parts of an image.
Selecting the Target Area Accurately
When using the Content-Aware Fill, precise selection is crucial for achieving seamless results. Start by using the Lasso or Marquee tools to define the area you want to remove or replace.
For intricate selections, consider using the Pen tool or Quick Selection tool for more precision.
| Selection Tool | Best Use Case |
| Marquee | Rectangular or circular areas |
| Pen | Complex, precise selections |
| Quick Selection | Large areas with distinct edges |
| Lasso | Freeform shapes |
Once you have made your selection, refine it using the Select and Mask workspace to ensure clean edges and accurate boundaries.
Customizing Fill Settings for Best Outcomes
After selecting your target area, open the Content-Aware Fill workspace. Here you can fine-tune various settings to optimize your results.
- Sampling Area: Adjust the green overlay to control which parts of the images are used as a reference.
- Color Adaptation: Choose how closely the fill should match the surrounding colors.
- Scale: Determine if the fill should use larger or smaller sampled areas
- Mirror: Enable this for symmetrical objects or patterns
Experiment with these settings to achieve the most natural-looking results for your specific image.
Refining Results with Additional Editing
Once Content-Aware Fill has been applied, you may need to refine the results further. Here are some techniques to perfect your edit:
- Use the Clone Stamp tool to manually adjust any imperfections
- Apply the Healing Brush for smoother blending of edges
- Adjust levels or curves to match the lighting and contrast of surrounding areas
- Add noise or grain if necessary to match the texture of the original image.
Remember, Content-Aware Fill is a powerful starting point, but combining it with other retouching tools will help you achieve flawless results.
Effective Blemish Removal Techniques in Photoshop
Now, let’s take a look at effective blemish-removal techniques in Photoshop that will help you enhance the quality of your images.
Identifying Different Types of Blemishes
Blemishes come in all shapes and sizes. When it comes to effective blemish removal, the first step is to identify the various types of blemishes you might encounter. Here is a breakdown of common blemish types:
- Acne
- Scars
- Age Spots
- Freckles
- Moles
- Birthmarks
| Blemish Type | Characteristics | Difficulty Level |
| Acne | Red, inflamed | Moderate |
| Scars | Textured | High |
| Age Spots | Dark, flat | Easy |
| Freckles | Small, scattered | Easy |
| Moles | Raised, dark | Moderate |
| Birthmarks | Varied | High |
Choosing the Right Tool for Each Blemish Type
Selecting the appropriate tool is crucial for achieving natural-looking results. Here is a guide to help you choose:
Spot Healing Brush: Ideal for small, isolated blemishes
Healing Brush: Perfect for larger areas or when you need more control
Patch Tool: Great for removing larger imperfections or objects
Clone Stamp: Best for precise, detailed work
Preserving Skin Texture While Removing Blemishes
To maintain a natural look, it’s essential to preserve the skin’s texture during blemish removal. Try these techniques:
- Use low opacity settings
- Work in small, gentle strokes
- Utilize multiple layers for non-destructive editing
- Blend modes to maintain skin tone and texture
Handling Challenging Areas Like Hair and Wrinkles
Removing blemishes near hair or wrinkles requires extra care. Consider these tips:
- Use a smaller brush size for precision
- Adjust the healing sample area frequently
- Employ the Clone Stamp tool for fine details
- Create a separate layer for wrinkles to maintain natural skin aging.
Final Words
By mastering these tools and techniques, you can elevate your photo editing skills to new heights. Whether you are a professional editor or an amateur enthusiast, incorporating these methods into your workflow will result in polishes, and professional-looking images that captivate viewers. Remember, the key to successful retouching lies in subtlety and maintaining the authenticity of the original image. Practice regularly, and experiment with different tools, and soon you will be creating stunning, refined photography that truly shines.