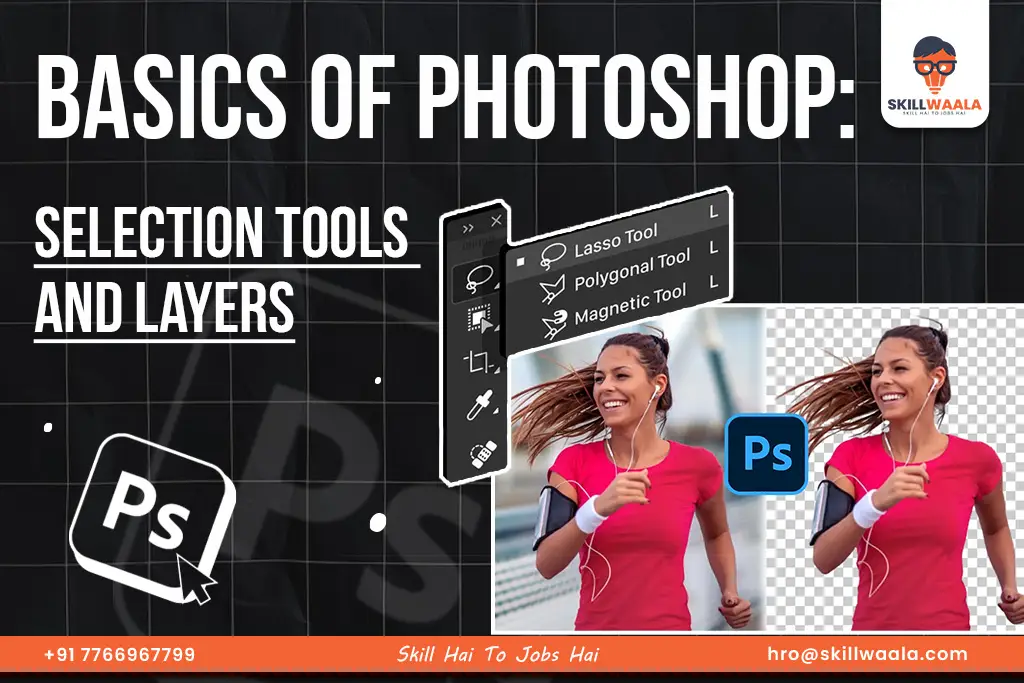
Adobe Photoshop is a powerful image editing software that has become the industry standard. It is widely used by designers, photographers, and digital artists worldwide. Whether you are a beginner or an aspiring professional, you need to understand the fundamental tools & concepts is crucial for efficient editing. Or else you are looking to start your career, then gaining knowledge on live projects is essential, and all this will be offered to you by Skillwaala’s graphic designing course, where you will be learning from expert graphic designers.
Among the wide variety of tools in Photoshop, selection tools and layers are quite important. These tools allow users to manipulate images with precision and create designs that align with their creativity. While selection tools help isolate parts of an image for editing, on the other hand, layers provide a structured way to work on different elements without affecting the entire project.
In this blog, we will explore the various selection tools, types of image extensions, and the basics of layers, including styles, blending modes, and masks. By the end of this guide, you will have a strong foundation in Photoshop’s core functionalities, helping you create stunning designs with ease.
Understanding Selection Tools and Layers
Photoshop provides multiple selection tools that allow users to select specific areas of an image. These tools are essential for cropping, editing, and refining images.
On the other hand, layers enable users to work on individual elements independently, ensuring better control and flexibility in editing.
Both of these are some of the most used tools while working on Adobe Photoshop. By understanding how they work and their usage, users can create stunning designs that captivate people.
Now, let’s talk about image extensions and why they are used.
Types of Image Extensions and Why They Are Used
Understanding different image formats is crucial for saving and exporting your work efficiently. Each type of image extension serves a purpose. Here are the most common image extensions:
JPG (JPEG- Joint Photographic Experts Group): A compressed file format best suited for web usage, social media, and digital photography. While JPG files have smaller sizes, they do not support transparency. And have chances to lose quality due to compression.
PNG (Portable Network Graphics): This format supports transparency and lossless compression, making it ideal for web graphics, logos, and icons.
PSD (Photoshop Document): The default Photoshop file format that supports multiple layers, adjustments, and effects, allowing for non-destructive editing.
TIFF (Tagged Image File Format): A high-quality format mainly used for professional photography and printing. It maintains rich detail without compression loss.
PDF (Portable Document Format): Ideal for sharing multi-page designs and maintaining vector quality. This format is commonly used for print layouts and digital documents.
Also Read – Introduction to Photoshop: Basics and Navigation
Working on Artboard to Create a PDF in Photoshop
Photoshop’s Artboard feature allows designers to work on multiple canvases within a single document. This is particularly useful for creating presentations, UI/UX Designs, and multi-page PDFs. Here is how you can create a PDF on Artboard.
1: Open Photoshop and select File > New
2: Choose Artboard from the document type.
3: Design each page within a separate artboard
4: Once done, go to File > Export > Save as PDF.
5: Adjust settings as needed and save your final document.
And just like that, you have successfully created a PDF on Photoshop without any hassle.
Now that we understand how Artboard and Image Extensions work, let’s focus on selection tools and how they are used.
Selection Tools in Photoshop
Adobe Photoshop offers various selection tools to refine and manipulate images. Here are some essential selection tools that are commonly used for image editing.
Marquee Tool
The Rectangular Marquee Tool and Elliptical Marquee Tool allow you to select areas in precise geometric shapes. On the other hand, the Single Row Marquee Tool and Single Column Marquee Tool can select a single line of pixels.
Keyboard Shortcut: M
Lassoo Tool
This tool allows freehand selection for more complex shapes. It is of two types:
The polygonal Lasso Tool is used for selecting areas with straight edges. Meanwhile, the Magnetic Lasso Tool automatically snaps to object edges.
Keyboard Shortcut: L

Magic Wand Tool
The Magic Wand Tool is used to select areas based on color similarity. It is primarily used for background removal and color correction. Besides these, it also features tolerance settings to help refine the selection.
Keyboard Shortcut: W
Quick Selection Tool
As the name suggests, the quick selection tool automatically detects edges and selects areas quickly. It is primarily used when users want to select an object with minimal effort:
Keyboard Shortcut: W

Understanding the Basics of Layers
Layers in Photoshop are like transparent sheets stacked on top of each other, allowing users to edit different elements of an image separately without affecting the rest of the composition. Each layer consists of various elements including images, text, shapes, or effects, making it easier to organize, manipulate, and adjust individual parts of a design.
Key Features of Layers
- Non-destructive Editing: It allows users to modify parts of an image without permanently changing the original content.
- Layer Opacity & Blending: Adjust transparency and blend different layers for unique effects.
- Layer Masks: Hide or reveal parts of a layer without erasing them.
- Adjustment Layers: Apply color and lighting changes without altering the original image.
- Grouping and Nesting: Organize layers efficiently using groups and clipping masks.
By mastering layers, you can create complex designs, perform professional photo retouching, and enhance digital artwork with greater control.
Creating, Duplicating, and Deleting Layers
Creating a Layer: Click on Layer > News > Layer or press Shift + Ctrl + N
Duplicating a Layer: Right-click on the layer and choose Duplicate Layer, or press Ctrl + J.
Deleting a Layer: Select the layer and press Delete, or drag it to the trash icon.
Layer Styles and Blending Modes
Layer Styles add effects like shadows, strokes, and glows to enhance design elements. Blending Modes control how layers interact with each other. Some common blending modes are:
Normal: Default mode with no blending
Multiply: Darkens the images by blending colors
Screen: Lightens the image for a bright effect
Overlay: Enhances contrast and vibrance
Layer Masks
Allow non-destructive hiding of parts of a layer. It can also be used to blend two images or make selective adjustments.
Layer > Layer Mask > Reveal All.
Clipping Masks
This is used to bind one layer’s visibility to another’s shape. It can also be used for text effects and photo manipulations.
Right-click > Create Clipping Masks

Useful Keyboard Shortcuts for Selection and Layers
To enhance the speed and efficiency of your work, you can use these Photoshop shortcuts:
- Ctrl + J: Duplicate Layer
2. Ctrl + Shift + N: Create a new layer
3. Ctrl + T: Transform selection
4. Ctrl + D: Deselect selection
Alt + Backspace: Fill with foreground color
Ctrl + Alt + Z: Step backwards (undo multiple times)
Ctrl + Shift + I: Invert selection
Shift + Click on Layer Mask: Temporarily disable mask
Ctrl + G: Group selected layers
Final Words
As you continue exploring Photoshop, practice using different selection tools and layer techniques to develop a deeper understanding of the software. Keep experimenting with layer styles, masks, and blending modes to enhance your designs. Mastering Photoshop’s selection tools and layers opens up a world of creative possibilities. Whether you are working on digital illustrations, UI designs, or photo editing, these fundamental skills will significantly improve your workflow. Understanding selection tools and layers allows for precise image adjustments, while learning how to manage layers ensures an organized and efficient editing process.
Frequently Asked Questions(FAQs)
Ans. Layer masks can be used to hide or reveal parts of a layer without disrupting other elements, allowing non-destructive editing. On the other hand, Clipping Masks use the shape of a layer below to determine the visibility of the layer above it.
Ans. The quick selection tool or the Magic Wand Tool can be used to select the background. After selecting, press Delete or add a Layer Mask and paint over the unwanted areas with black to hide them.
Ans. Each image format serves a different function. If you need to retain layers and editing capabilities, save the file as PSD. For web images, you can save them as JPG or PNG. If printing is your priority, TIFF is the best choice.
Ans. You can duplicate a layer quickly by selecting the layer and pressing Ctrl + J. Select the layer and press Ctrl + J (Windows) or Cmd + J (Mac) to create a duplicate instantly. For Mac users, select the layer and press Cmd + J to quickly duplicate a layer.


